|
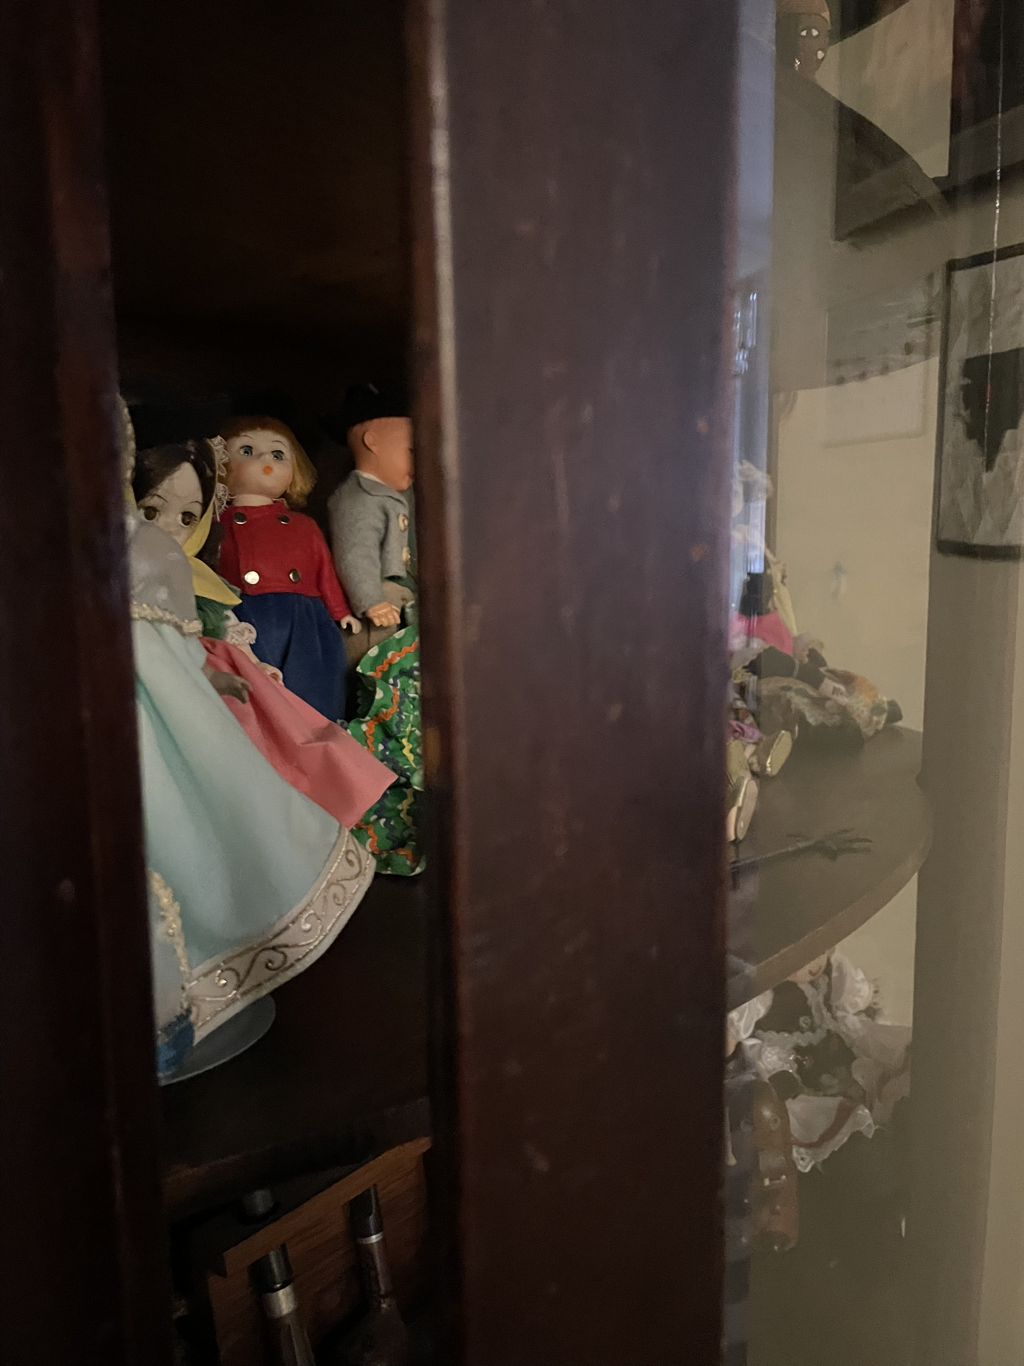
I really enjoyed this class. I like being able to experiment and learn how to use different mediums while strengthening my skills will mediums I already use. I think my favorite medium I learned how to use was colored pencils because I was able to learn how to blend with color and how to blend in a less conventional painting method that I am used to. I was nervous when it came to drawing with colored pencils because of how the final texture looked like and the order in which the colors need to be put down to get the final wanted color. I think my favorite project was the still life project because I liked being about have a set thing to draw while still being able to pick which part of the still life looked the most fun to draw. I am very proud of how that piece turned out because I think the proportions and the value, especially of the old phone. Personally I did not enjoy the look what you can see through unit because halfway through I stopped enjoying what I was drawing and lost focus on the piece. The color of the dolls weren't coming off as clean and smooth as I was hoping they would and I was struggling to blend to similar colors of the dolls clothes and I struggled to continue working on it.
0 Comments
Brainstorming Ideas1. My face on a spider body, looks angry, hair in bun, red eyes 2. Face sewn onto a khola or bear body 3. A wall of like 4-6 different size picture frames each with different facial expressions 4. Face in water reflection on a sidewalk, maybe adding a ripple effect 5. Multiple faces on top of each other, sort of fading into each other 6. A vintage, crimple/burnt edged photo 7. Picture of a photo burning, only the flame in color, the picture burning could be looking happy, and the background could look like a mess or of things broken 8. Simple picture smiling, just happy 9. Paint in different colors on half of the face 10. Very flattened face, like it is on a pancake 11. My dog and I in matching bucket hats 12. Face with sunglasses on and the reflection in the glasses would be me 13. Make all the shadows the highlights and all the highlights the shadows, reverse shading 14. Hair as plants/ leaves, maybe a couple flowers in there 15. Creeping through a window, blinds open but it's night, the blinds cut through the face Reference Photos
Compositional sketches Final Sketch Inprogress Photos
Final Self Evaluation1. Explain the process you went through to develop your drawing.
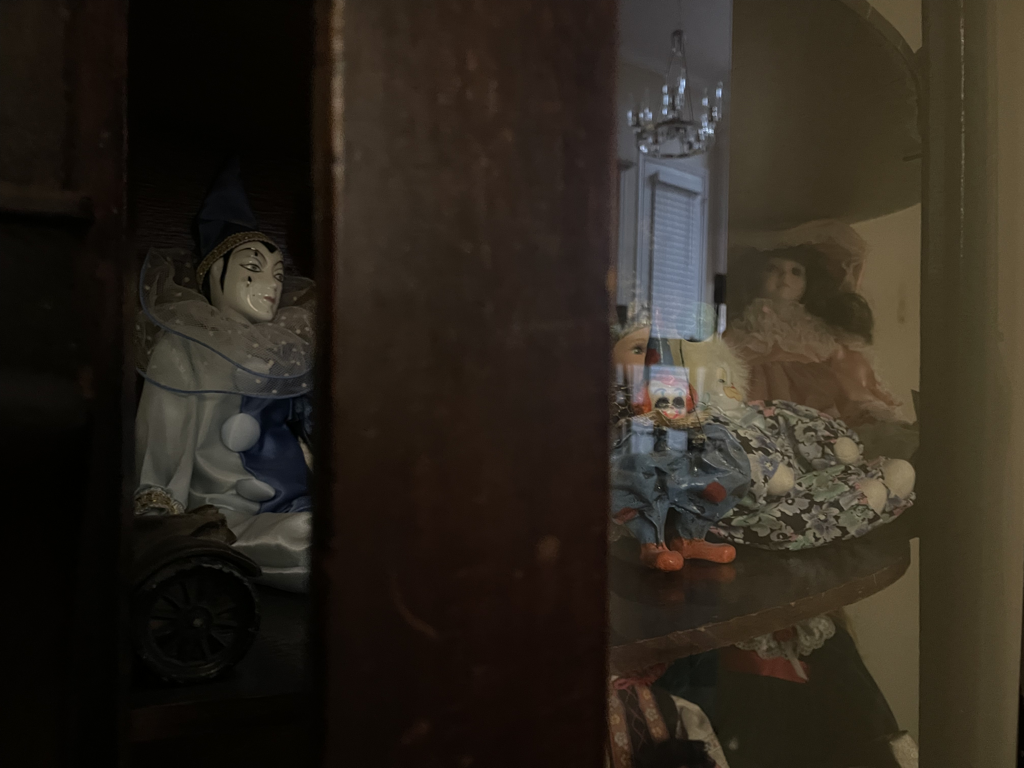
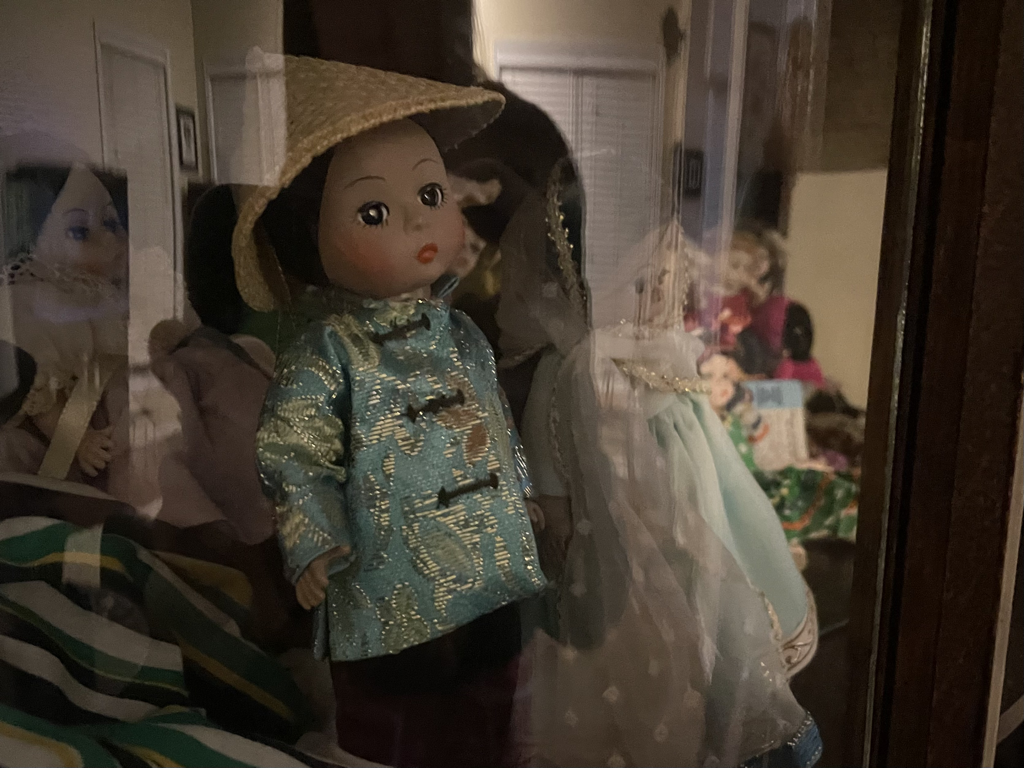
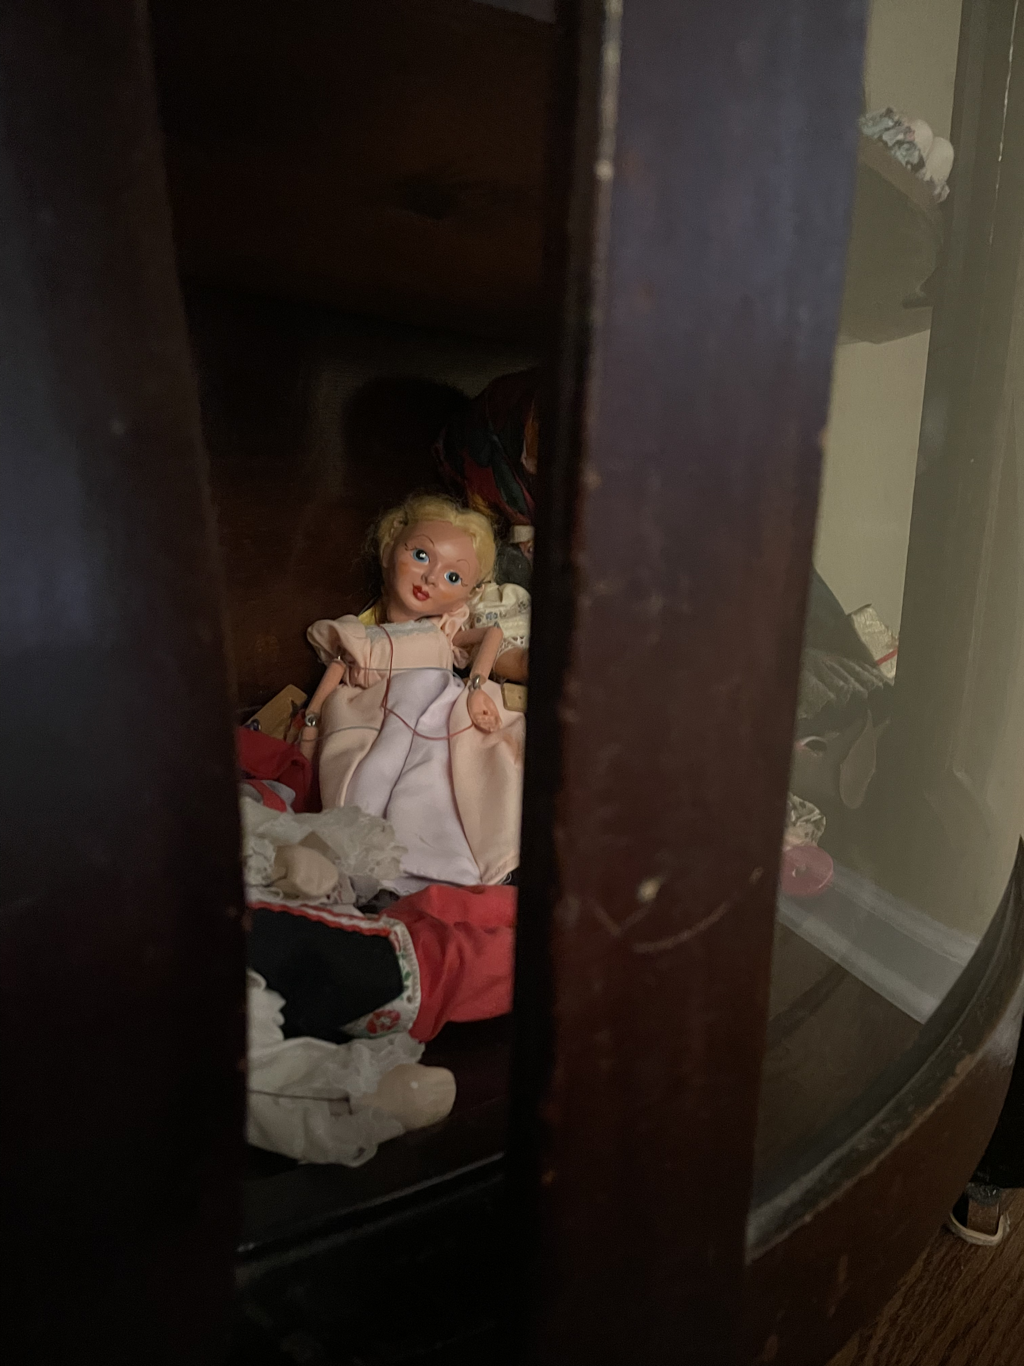
- I started my drawing by coming up with ideas that make the process of drawing a portrait more fun to accomplish, then I used many different graphite pencils to create values in the piece as I draw my face on a koala bear. 2. Discuss your choice of how you represented yourself (mechanical, expressive, stitched together, etc)? - I stitched my face onto the body of a koala bear. I decided on this piece because it is kind of creepy and creates something interesting for the viewer to look at. 3. Did you achieve a full range of value within your portrait? How? - I achieved a full range of value through the fur of the koala bear, I used darker values to create the look of fur and texture over the body of the bear with the deepest value connecting the ear of the bear to the head. 4. Describe your craftsmanship. Is the artwork executed and crafted neatly? - I think the artwork is crafted neatly because I planned out the size of everything and spent time on the initial drawing before I started the shading so that everything looked proportional before I started. 5. How were you able to capture your look? - I was able to capture my look best through the eyes. My eyes are one of my most prominent so capturing the look and size helps the face best look like mine. I made sure to focus on the highlights in and around the eyes so that they would pop. 6. Explain how you made sure you had correct facial feature placement. - I made sure I had the correct facial feature placement starting with the basic facial structure and blocking the head into different sections to get the correct length apart for each feature. Like how the outside of the nose lines up with the inside corners of the eyes. 7. Explain the importance of learning how to draw all the features individually. - Learning how to draw features individually is important because it teaches one how to focus on the smaller details of each feature and what details specifically to focus on so that when you put all the features together its not as overwhelming to figure out how to draw them all at once. 8. What part of this unit was the most beneficial and why? - The most beneficial part of this project was the practice of drawing each individual to start with so that there is understanding on how to execute each facial feature on its own before putting them all together. 9. List any obstacles you had to overcome and how you dealt with them. - An obstacle I dealt with was figuring out how to draw fur as it was something I hadn't done before. I spent time trying different ways and techniques to see which looked most realistic and which was most comfortable for me to do for the drawing. Brainstorming Ideas1- Fish in a bag/ maybe also sitting in a fish tank, looking down 2- pencils in a jar 3- cookie cake in box with clear lid and plastic silverware 4- plastic bag of cookies 5- looking through oven at cookies cookie on oven pan 6- clear vase of flowers 7- A jar with different kinds of shells on a shelf 8- Jojo siwa head mini toy sitting on the middle consul of the car 9- sugar container on its side pouring sugar onto the counter 10- steamy hot food in a togo container 11- watch with clear glass top in the sun 12- looking through a magnifying glass at plants 13- cup of dirty paint water with paint brushes on a paint pallet 14- bottle of salad dressing next to a cut up veggie with a clear bowl 15- clear cabinet with antique dolls behind it SketchesCompositional Sketches
Final Sketch Inprogress Photos
Final Self Reflection1. Describe the craftsmanship of your drawing.
- My drawing is neat and thought out, the colors are well blended colors. Some areas could used deeper colors where the colored pencil texture is more varnished. 2. Describe how you created the look of transparency. - I created the look of transparency by using white, yellow and blue colored pencils to create the reflection of the glass from the lights in the room. 3. Describe your choice of colors/color harmonies and how you used them throughout the artwork. - The colors of the piece are all soft and pastels with gold to tie the dolls together throughout the piece. I used darker colors for the shadows and the background to allow the dolls to pop. 4. How did you create contrast in your drawing? - I created contrast in my drawing my using very light, soft colors for the dolls clothes and the fabric in the piece and used dark browns for the wood of the furniture in the background. I also used bright white for the reflection so it would stand out the most in the piece. 5. How did you use textures, highlights and shadows to enhance your artwork? - Highlights and shadows enhance how the fabric moves and folds throughout my piece. Each doll has different movement and curves of their clothing that using the shadows gives each doll the look of realism. 6. Discuss the importance of understanding the media (prisma or pastels) and acquiring the skills necessary to create a successful project. How beneficial were the mini assignments? - Understanding the media of prisma is important because blending the colors with different undertones to get the correct shading and highlights is important to create the features of the piece. 7. Describe any difficulties you had creating your drawing and what you could do to improve your drawing? - I had trouble getting colors light enough to match the colors in my reference photo while still creating enough contrast to for the highlights of the reflection to pop. I could improve my drawing by varnishing more areas of the drawing to create deeper more consistent colors. EyesVideo Practice Eye My Eye
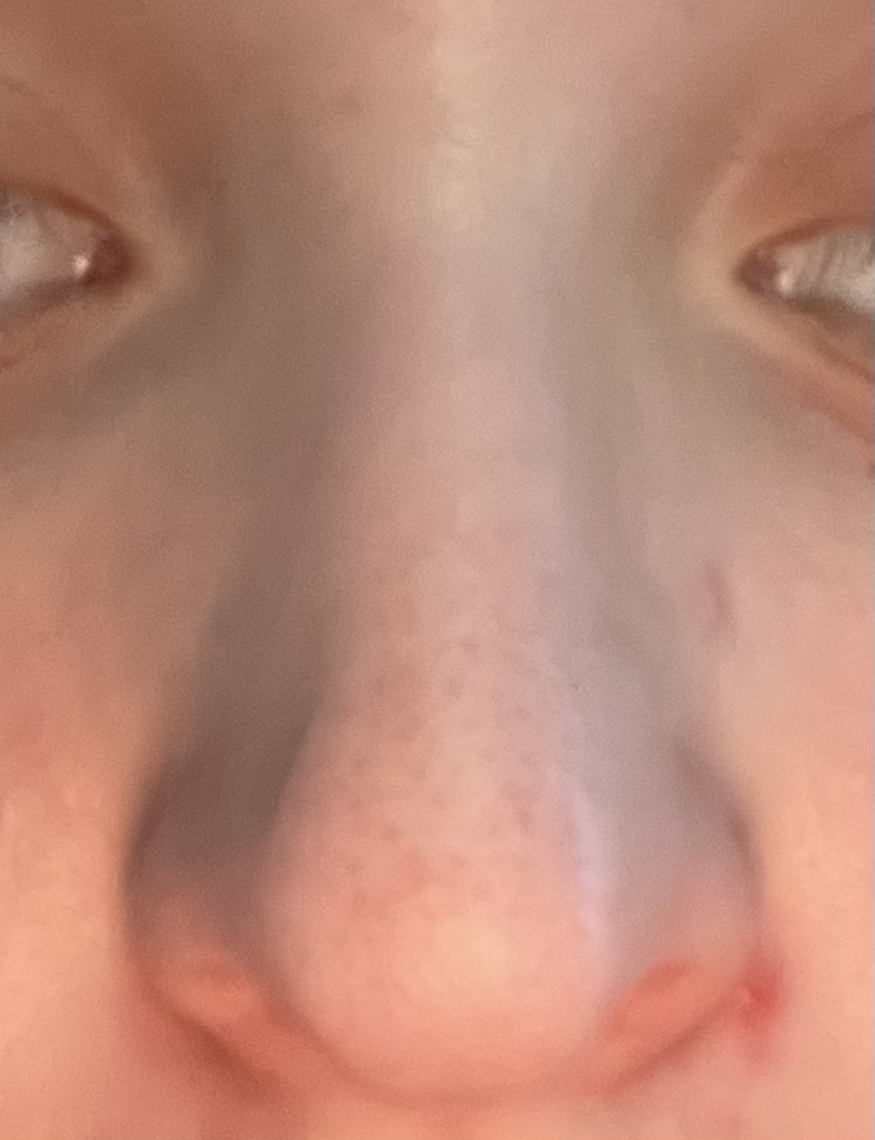
NoseVideo Practice Nose My Nose
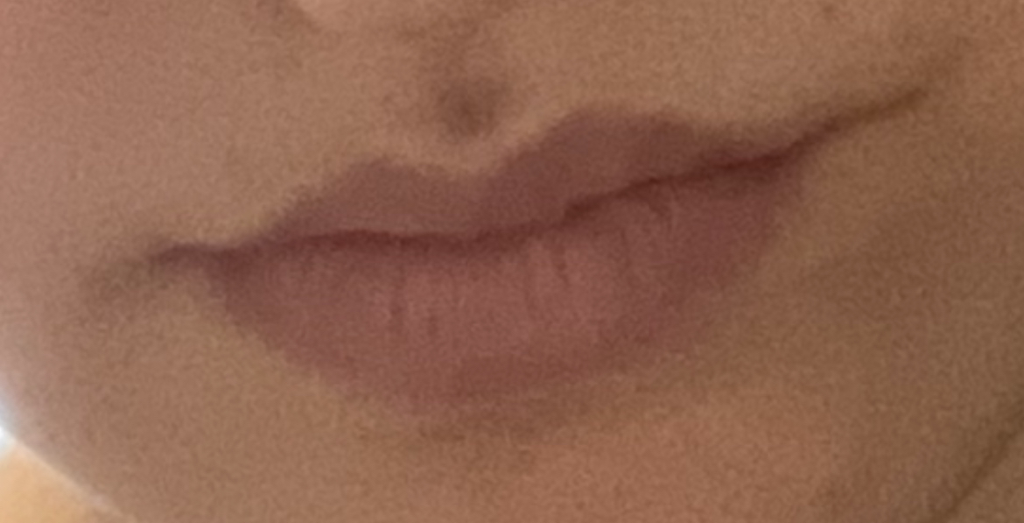
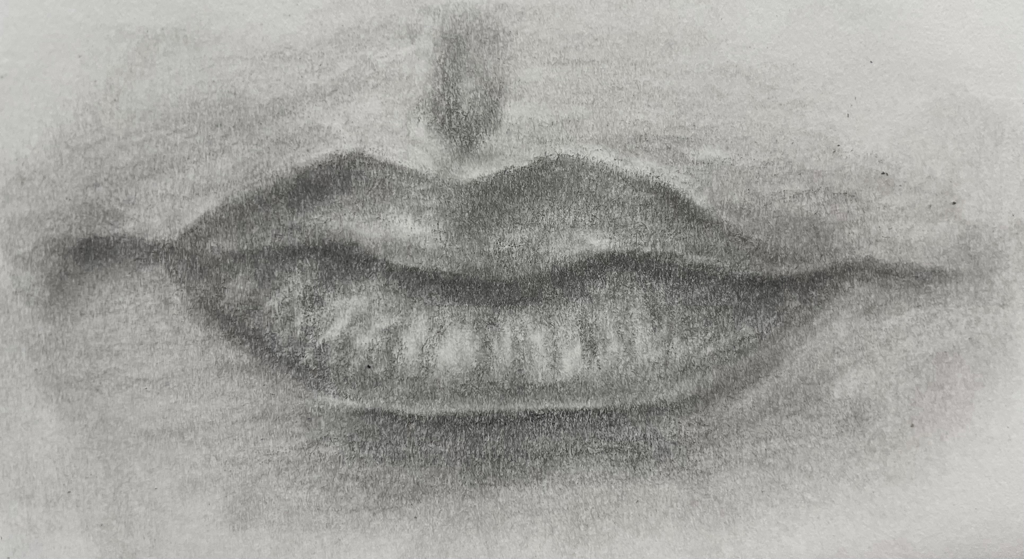
MouthPractice Video Mouth My Mouth
Face ContourPractice Video Face My Face Contour
Brainstorming1. Cup on table at diner with pepper shaker, flowers and silverware in background, straight on view where objects in front are bigger than the ones in the back 2. Upward angle of guinea pig with green around its mouth 3. Worms eye view of storm on beach 4. Circular bobble head with hat on plane in straight on view 5. Side mirror on car looking back at sunset 6. Worms eye view of looking at a ferris wheel 7. Dog in hammock looking straight at dog 8. Baby sea turtle on beach from birds eye view 9. Looking down a sidewalk crack seeing all the weeds and pebbles 10. Looking through all the players in a foosball table 11. Worms eye view of old toy car, wheels are bigger 12. Worms eye view looking up at a purple dragon 13. Looking down a wooden bridge that goes through trees 14. Worms eye view looking up a ladder 15. Looking up a candle holder that has lots of different curves to it SketchesComposition
Final Sketch In progress
Final Drawing Self Evaluation1 - I created an interesting point of view by first coming up with multiple ideas of what I could draw. I took multiple compositions of my ideas to find the most interesting composition. I decided on a perspective looking down the side of the car that showed the perspective with the car getting smaller. I think my drawing was successful because the lines on the car go to a common vanishing point. The car is larger in the front where it would be closer to the viewer and it is smaller and shorter the farther away from the viewer it would be.
2 - Learning how to draw in perspective is important because it allows the objects in the drawing to look more real. Knowing how the lines fit together and what vanishing points they go to, when the lines in the drawing are at the correct perspective it makes the drawing work. 3 - It is important to understand perspective and how to draw it because it allows for the drawing to look like the correct object where the lines aren’t all crazy and confusing. 4 - The colored pencil exercises were important to the success of my piece because I was able to practice blending colored pencils together to create a smooth gradient. It also helped me practice which colors go well as undertones of other colors and which colors blended well to make different colors. 5 - For my piece I use gridlines to draw the basic sketch of my car. I then layered many different colors of colored pencil on top of each other until I got the color I wanted in a smooth gradient. 6 - I was able to achieve depth in my drawing. The foreground had lighter and brighter colors while having the objects be larger. The background is further away with more dark colors. The wheels in my drawing show the best example of this because the front wheel is larger with brighter yellows while the back wheel is smaller with more orangey yellows. 7 - Since my car has so many different shades of black I had to focus on the undertones I used to give the black some dimension. I struggled with finding colors that match the drawing without turning the black into a more grey color. I liked the color pencils because it allows for shadows to not look as harsh, most shadows are much more blended into the color pencils than they were in graphite pencil. 8 - Going into this project I think I was pretty well prepared for it. However I do think I would have liked to practice more on mixing colored pencil colors to slightly change the shade of a color while still allowing it to be the same color. 1 POINTHas one vanishing point on the horizon line
2 POINTHas 2 vanishing points on horizon
3 POINTHas 3 vanishing points, 2 on horizon and one on a line perpendicular to the horizon
Thois assignment was drawing fruits and other foods with colored pencil. The goal was to focus on the different colors used and the what colors can be used to get the colors of the actual object.
 Using different colored pencils when drawing forms to practice blending colors with many different shades and colors
|